Here are the instructions on how to approve an event request at GSB:
Notification:
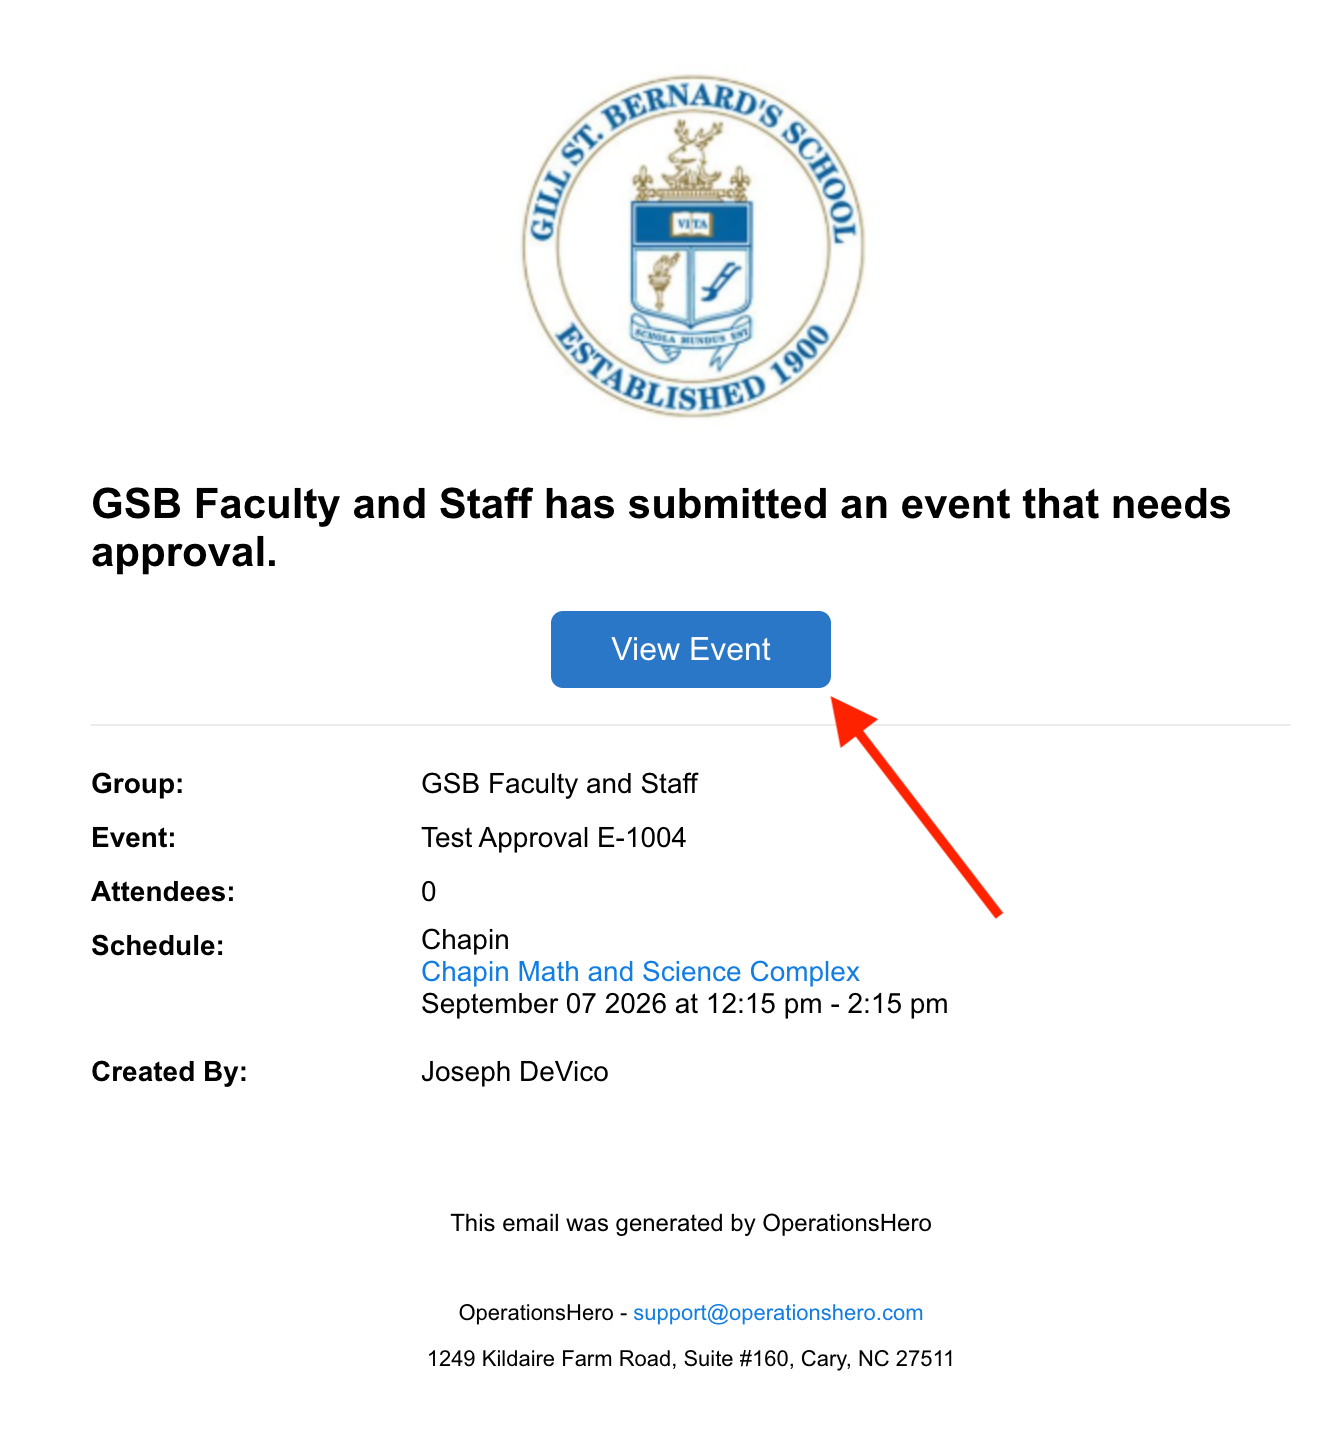
When an event is submitted that requires your approval, you'll be notified via email of the request. The email will look like the one pictured below.
NOTE: The email will come from no-reply@operationshero.com and will be formatted similar to the image pictured below.
• You can click the link in the email to be directed to the sign-in page of the event software. If you aren't already logged into the event manager, you'll need to do so.
Approving the Event (from the email link):
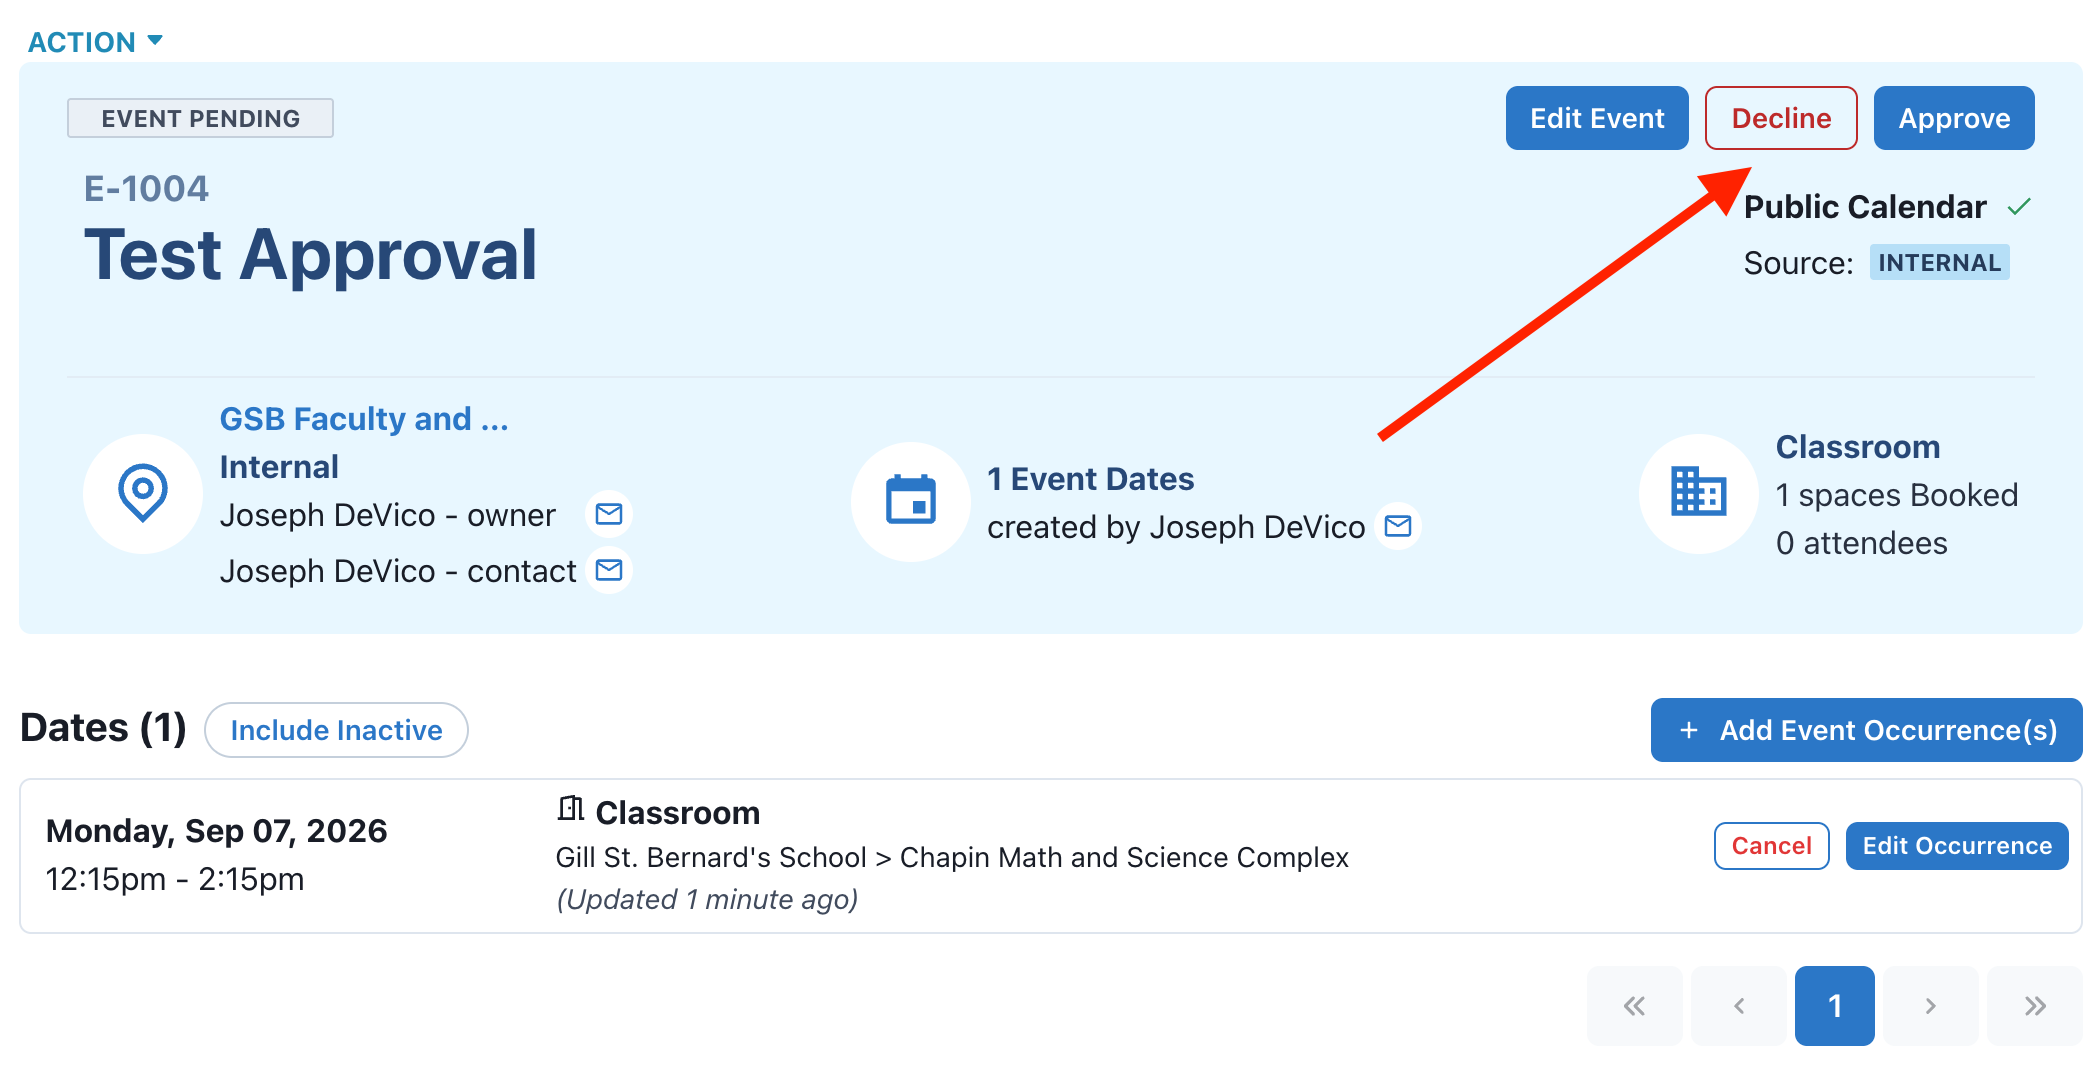
Step 1) If you've clicked you'll be taken directly to the event with summary information waiting for your approval. The event will show as pending. From here you may choose the from the following options or make some changes listed further down in this document:
• Press on the Approve button at the top right.
• Press on the Decline button at the top right.
The requestor will be notified of your approval/denial.
Optional items:
• If you want to Edit the event, here are some items to look at:
• Edit Occurence: You can edit the dates or times as needed. (If a requestor makes a change to a previously approved event, the approval process will begin again and you'll be asked to approve the changes to the event.) You can also add an occurence of the event if needed.
• Public vs. Private: If you set the event to be Public, it will show on the calendar. If you set it to Private, the event will show on the calendar with no details other than the word Private.
• Services: You can confirm that the appropriate Services have been added to the event prior to approving and/or email the requestor asking them to add any additional information you might think is missing from the task before continuing. Ultimately, it's up to the requestor to make sure they've added the necessary information, and once you approve the event, the task will be assigned to the appropriate person/division who can then follow up with the requestor if more information is needed.
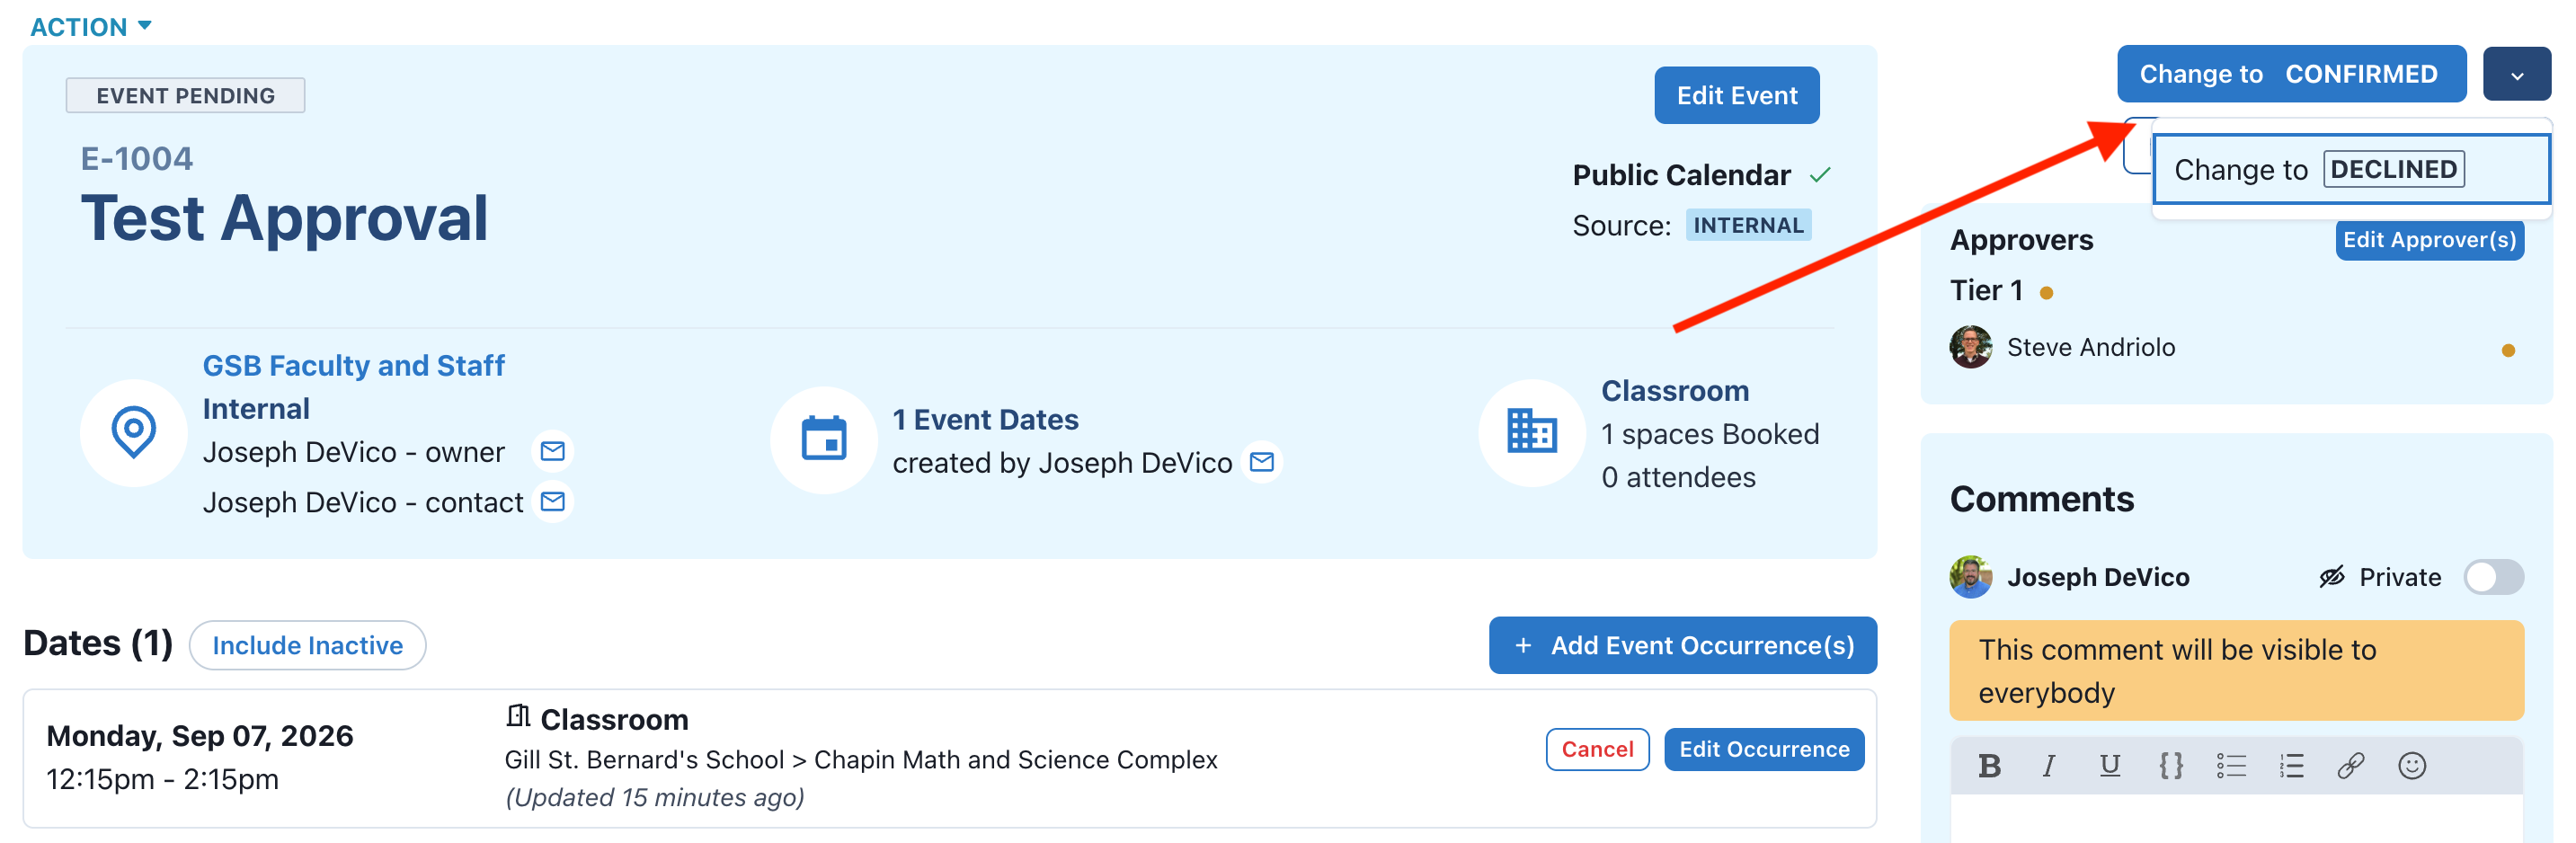
• Comments: You can use the Comments section to add notes to the event. if you "tag" a person in the comment, they'll be notified that you left a comment so they can check and respond if necessary. • Status Change: If you need to change the status of an event after you've approved or declined it, you can get back to the event from the events dashboard at the top of your screen and change the status at the top right of the event details page.
Was this article helpful?
That’s Great!
Thank you for your feedback
Sorry! We couldn't be helpful
Thank you for your feedback
Feedback sent
We appreciate your effort and will try to fix the article